A DIY Murphy bed is a bed you can make at home that saves a lot of space. It folds into a wall or cabinet, making more room for you during the day. Good for guest rooms or small spaces!
Turn your bedroom into a smart, stylish space with this DIY Murphy bed. It is creative and space-saving without sacrificing comfort. Great for guest rooms or multipurpose areas, it is fun and functional to build. Ready to design a bed that disappears when you need extra room? Let’s get started!
A DIY Murphy bed is a clever way to save space and add style to your room.It folds up neat when not in use, making small rooms more functional. You can build one with simple tools and a ready-made kit. You can customize it to match your decor for a perfect fit. Start your DIY project today and transform your space!
What’s a Murphy bed?
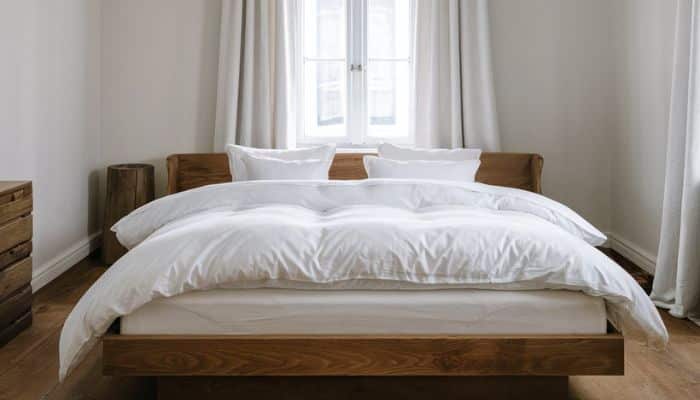
A Murphy bed is the type that folds up into the wall of a cabinet when not in use. As such, it happens to be quite suitable for small spaces, one which may require saving space. With a pull-down system when sleep is needed, you just pull it down, and it’s ready for you. It helps in converting any room into multi-use purposes, such as office and living areas.
There are several sizes and styles of Murphy beds to fit any need. Some even come with storage or a desk for extra functionality. They’re perfect for guest rooms, apartments, or studio apartments. With a Murphy bed, you get comfort without sacrificing precious space.
Benefits of a DIY Murphy Bed

Creating your own Murphy bed has several advantages:
Space Optimization
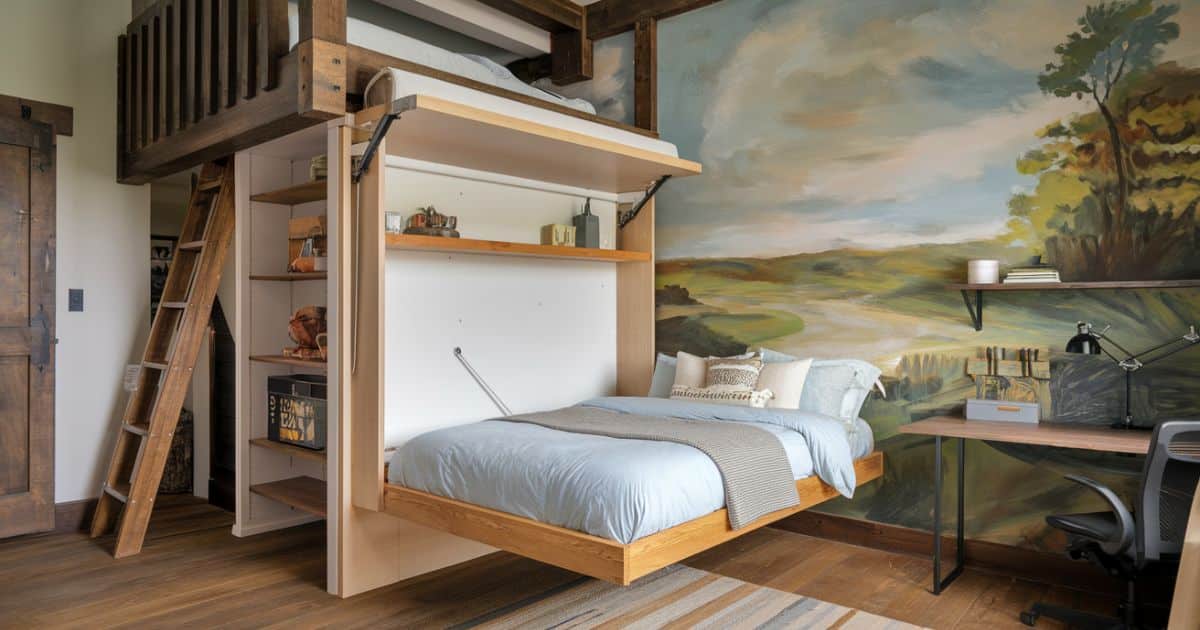
A Murphy bed is ideal for small living areas like apartments and studios. Since it folds up when not in use, it creates more open space available for other uses. It allows you to have a multi-functional room without feeling cramped. You can have a workspace or living area and, at the same time, still have a bed in one room.
Cost-Effective
You will save a lot of money when you build your own Murphy bed compared to purchasing a ready-made one. Kits of DIY usually are very inexpensive, and you only pay for the materials you pick. When you do the work yourself, you avoid the high labor cost associated with hiring professionals. This is very good for those who are on a tight budget but need a working bed.
Customizable
The best thing about a Murphy bed DIY is the fact that it can be tailored to a space. It can even match the décor of your room, whether you need extra storage or a certain color. Complete control over your DIY bed provides the freedom to make a very unique piece that works exactly for you.
Step-by-Step Guide to Building a DIY Murphy Bed
Plan Your Project
Before you start, decide on the bed size (twin, full, or queen) based on your space. Pick a location where the wall is strong enough to support the weight. Gather all necessary materials, including a Murphy bed kit, plywood, screws, and tools, to avoid interruptions during the build.
Select the Right Kit
Choose a Murphy bed kit that suits your room layout, whether you prefer a vertical or horizontal mount. These kits provide all the essential hardware needed, making the construction process easier. Ensure the kit matches your desired bed size and style.
Prepare the Frame
Cut the plywood for the bed frame and the support structure according to the kit instructions. Assemble the frame carefully, following the step-by-step guide provided. For a professional touch, iron on edge banding along the edges to give it a clean, finished look.
Install the Mechanism
Attach the lift mechanism following the instructions in the kit. Make sure the lift parts are securely fastened and properly aligned to ensure smooth operation when the bed is folded and unfolded.
Paint and Finish
Choose a paint or wood stain that is suitable for your room’s design. It is possible to get a smooth, professional finish without marks from the brush using a paint sprayer. Ensure that the paint dries before going on to the next step because of smudges or uneven color.
Secure to the Wall
Mount the Murphy bed frame to the wall studs for stability, so the bed is securely fastened to the wall. Test the folding mechanism to ensure that it operates smoothly and can carry the mattress.
Creative Design Ideas for Your DIY Murphy Bed
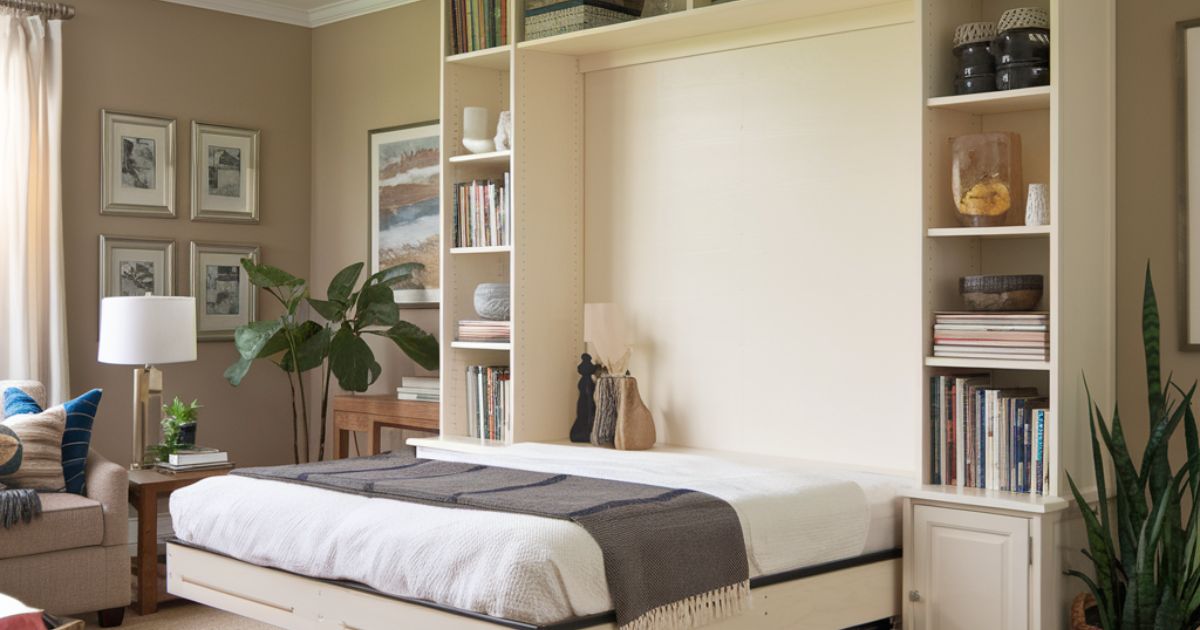
Add Built-In Shelves
Adding shelves or cabinets beside your Murphy bed is a smart way to maximize space. It provides extra storage for books, decor, or essentials. This design keeps your room neat and organized without taking up extra space.
Use Multifunctional Decor
Consider using foldable desks or furniture that can easily convert into different shapes. These items save space and increase the functionality of your room. They are perfect for rooms where you need a flexible layout.
Incorporate Lighting
Installing LED strip lights or wall sconces around your Murphy bed adds both style and warmth. It creates a cozy atmosphere for relaxing. You can use lighting to point out the bed’s features, improving the room’s overall beauty.
Common Challenges and How to Overcome Them
- Space Limitations:To avoid space issues, measure the area where the bed will be installed carefully. Make sure there is enough room for the bed to both fold out and stay compact when not in use.
- DIY Hiccups:Follow the step-by-step instructions provided in your kit to avoid mistakes. If you encounter difficulties, don’t hesitate to ask for help from an experienced friend or watch tutorial videos.
- Painting Issues:Before applying paint to the bed frame, practice on some scrap wood. This will help you get the hang of using a paint sprayer and ensure a smooth, even finish.
FAQs
Is it challenging to build a Murphy bed?
Well, if you know how to use the appropriate tools and instructions, a DIY Murphy bed is easy to assemble. It will take a few hours, but the work is enjoyable.
How much does a Murphy bed cost?
A basic Murphy bed kit will normally run anywhere from $300 to $700 in materials.
Can I personalize a DIY Murphy bed?
Yes, it can be customized. One can choose the material, the color, and add even more features such as shelves or lights.
Is it safe to use every day?
It is absolutely safe for a Murphy bed to be used daily if set up the right way. It’s stable and secure when it’s put in the right way.
What are some of the tools required in building a DIY Murphy bed?
This activity would require some standard tools like a drill, saw, measuring tape, and level.
Conclusion
Building a DIY Murphy bed is a great way to save space and personalize your living area. It is relatively cheap for apartment dwellers and small house owners. Following easy steps, you can develop a functional and stylish bed that folds away when it is not in use.
With creativity, it’s possible to add any additional personal touches that you prefer and even integrate built-in shelves or special lighting within it. Whatever your reason may be, for extra storage, a multi-functional room, or whatever else you need it to be, your DIY Murphy bed surely will deliver the goods on every count.